
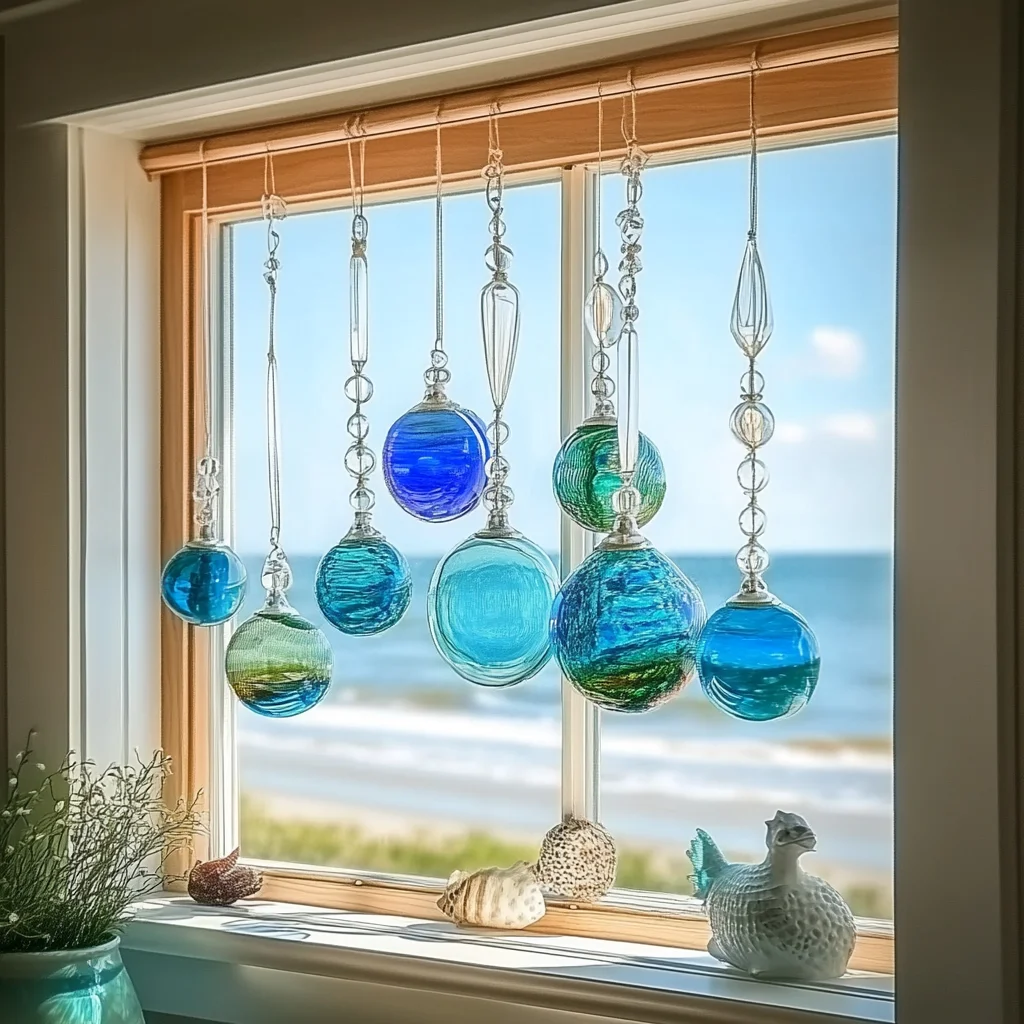
Imagine a sun-drenched afternoon, the ocean breeze gently rustling through your hair, while you sit down to craft something truly special. This DIY project, Coastal Cottage Lightcatchers, captures that serene coastal vibe, allowing you to bring a piece of the seaside into your home. As you create, you’ll find joy in the textures of natural shells, the warmth of twine, and the enchanting glow of fairy lights. These lightcatchers are not just beautiful; they evoke memories of beachcombing and sunny days, making them a perfect addition to your decor or a heartfelt gift for someone special.
Why You’ll Love Coastal Cottage Lightcatchers
- Beginner-friendly
- Budget-friendly
- Creative and fun
- Great for kids and families
- Perfect for gifts or decorations
- Customizable
The Heart Behind This DIY
Crafting Coastal Cottage Lightcatchers is more than just a fun activity; it’s an opportunity to connect with your creativity and find mindfulness in the process. As you gather your materials, arrange your shells and stones, and let your imagination run wild, you will find that this project encourages self-expression and boosts your confidence. The soothing act of creating something with your hands can be incredibly therapeutic, bringing you into the present moment and allowing you to appreciate the beauty around you.
A Gentle Look at the Process
As you embark on this crafting journey, expect to feel a sense of excitement and comfort. You will start with simple glass jars or bottles, transforming them into radiant lightcatchers that glimmer in the sunlight. Picture yourself painting, gluing, and decorating, all while enjoying the satisfying sounds of scissors snipping, twine unraveling, and the gentle clink of shells. Each step is a chance to engage your senses and let your creativity shine.
Materials You’ll Need
- Glass jars or bottles: These will be the canvas for your lightcatchers.
- Twine or rope: A lovely touch to finish off your creation.
- Natural shells and stones: Perfect for adding a coastal charm.
- Clear adhesive: To secure your decorative elements.
- Paint (optional, for decoration): Add a splash of color to your jars.
- LED fairy lights: The magic that brings your lightcatchers to life.
- Sand (optional, for added texture): For a beachy feel at the bottom.
Step-by-Step Directions
Step 1
Start by cleaning and drying your glass jars or bottles thoroughly. This step ensures that the adhesive will stick properly, giving your lightcatchers a polished look.
Step 2
If you want to add a personal touch, paint the exterior of your jars or bottles. Choose colors that remind you of the ocean—perhaps a soft blue or sandy beige. Allow them to dry completely before moving on to the next step.
Step 3
Apply a thin layer of clear adhesive to the surface of your jars or bottles. This is where the magic begins! Carefully attach your natural shells and stones to the adhesive, arranging them in a way that feels pleasing to you. Trust your instincts; there is no wrong way to decorate!
Step 4
For added texture, consider filling the bottom of your jars or bottles with sand. This not only enhances the beachy vibe but also provides a lovely base for your fairy lights.
Step 5
Now it’s time to insert the LED fairy lights into your jars or bottles. Make sure they are evenly distributed so the light shines beautifully through your decorations.
Step 6
To finish, tie twine or rope around the neck of the jars or bottles. This simple detail adds a rustic charm that perfectly complements your coastal theme.
Step 7
Finally, place your lightcatchers in a well-lit area, allowing the gorgeous reflections and ambient light to fill your space. Step back and admire your handiwork!
Creative Ways to Use Coastal Cottage Lightcatchers
Your Coastal Cottage Lightcatchers can serve as stunning decor pieces, bringing a warm glow to your living room or bedroom. Consider placing them on your windowsill, where they can catch the sunlight during the day and cast beautiful patterns at night. They also make thoughtful gifts for loved ones—imagine giving someone a handmade piece that lights up their home. You can even create a lovely centerpiece for your dining table, combining several lightcatchers of different sizes and designs for an enchanting effect.
How to Store, Preserve, or Reuse Coastal Cottage Lightcatchers
To preserve your lightcatchers, store them in a cool, dry place when not in use. If you want to refresh their look, consider changing the paint color or the arrangement of shells and stones from time to time. These lightcatchers are also perfect for reusing; simply swap out the fairy lights or add new decorations to keep them feeling fresh and exciting.
Creative Variations and Customizations
- Color variations: Experiment with different paint colors to match your decor.
- Theme ideas: Create seasonal lightcatchers using autumn leaves or winter ornaments.
- Kid-friendly modifications: Let children decorate with stickers or colored sand.
- Advanced creative upgrades: Incorporate other natural elements like driftwood or sea glass.
Tips for Success
- Common mistakes to avoid: Ensure your jars are clean and dry for better adhesion.
- Safety tips: Be cautious when using scissors or glue; supervise children during the crafting process.
- Preparation suggestions: Gather all materials beforehand to streamline your crafting session.
- Cleanup recommendations: Use a damp cloth to wipe any spilled adhesive before it dries.
- Expert crafting tips: Don’t rush the decorating process; take your time to enjoy each step.
FAQs About Coastal Cottage Lightcatchers
Can beginners make this?
Absolutely! This project is perfect for beginners and families looking to have fun together.
Can children participate?
Yes, children can join in on the fun! Just make sure to supervise when using sharp tools or adhesives.
How long does it last?
With proper care, your lightcatchers can last for many seasons, brightening your home year after year.
Can I customize it?
Yes! Feel free to get creative with colors, themes, and decorations to make them uniquely yours.
A Final Creative Note
As you wrap up your Coastal Cottage Lightcatchers, take a moment to celebrate your creativity and the joy of making something with your own hands. Every time you see the gentle glow of your lightcatchers, let it remind you of your ability to create beauty in the world. For more delicious recipes, check out No-Bake Marshmallow Slice or No-Bake Orange Creamsicle Cheesecake for treats you will love! Don’t forget to follow our Pinterest for more DIY inspiration!
Garlic Butter Chicken Bites with Creamy Parmesan Pasta
Ingredients
Equipment
Method
- Step 1: Cook pasta in a large pot of salted water until al dente. Reserve 1/2 cup of pasta water. Drain and set aside.
- Step 2: In a skillet, heat olive oil over medium-high. Season chicken with paprika, Italian seasoning, salt, and pepper. Sear for 3-4 minutes per side until golden and cooked through. Remove and set aside.
- Step 3: In the same skillet, melt butter and add minced garlic. Saute for 1 minute. Return chicken to the pan and toss in garlic butter.