
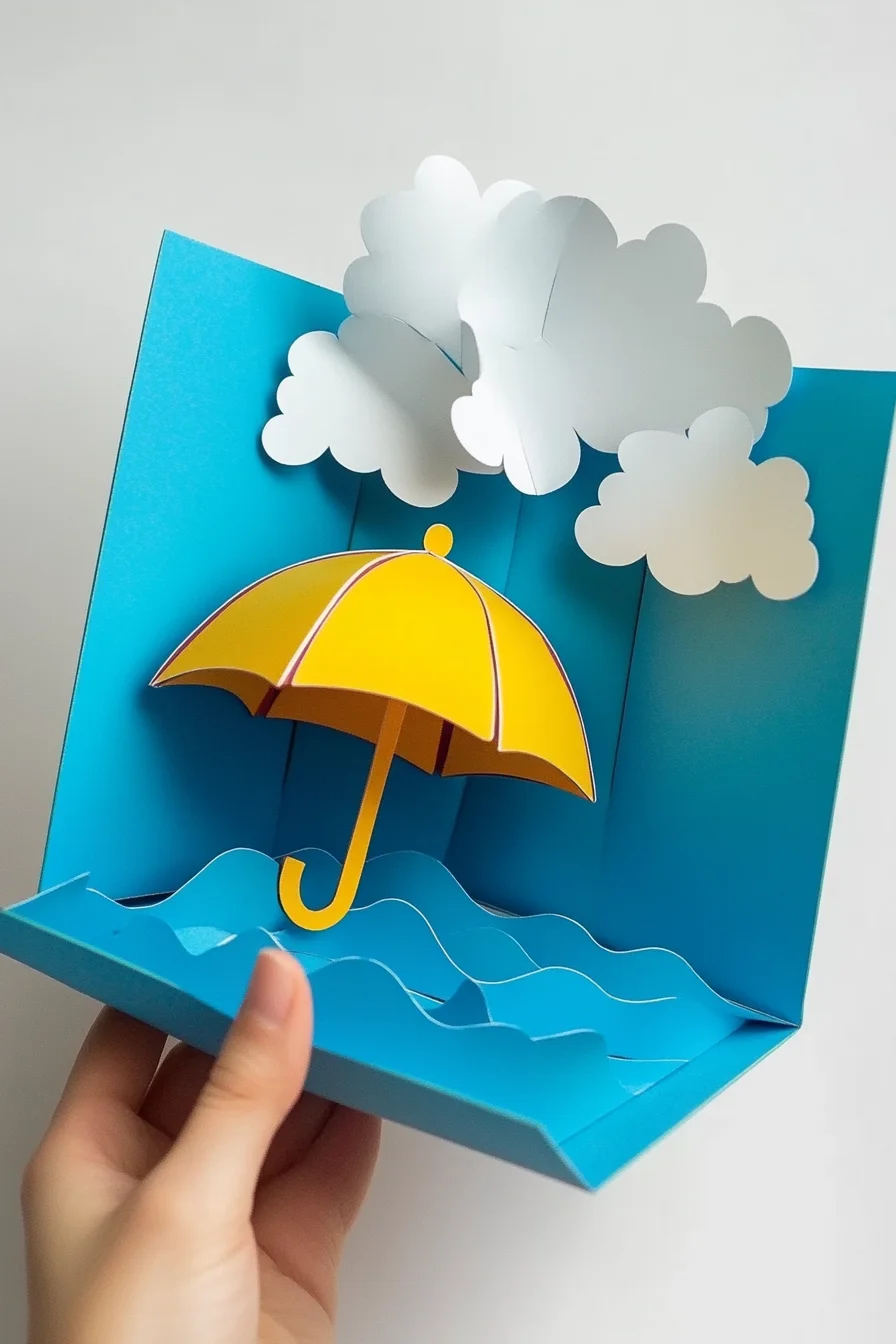
Imagine a cozy afternoon spent creating something vibrant and cheerful that captures the essence of a sunny day. The 3D Umbrella Craft is not just a delightful project; it’s a chance to immerse yourself in colors and creativity, bringing a splash of joy to your space. Whether you are crafting with your kids or enjoying a moment of solo creativity, this project is a wonderful way to unwind and express yourself. Picture your finished umbrella, bursting with color and charm, ready to brighten up any corner of your home.
Why You’ll Love How to Make a 3D Umbrella Craft
- Beginner-friendly
- Budget-friendly
- Creative and fun
- Great for kids and families
- Perfect for gifts or decorations
- Customizable
The Heart Behind This DIY
Crafting is more than just a hobby; it’s a way to connect with our emotions and creativity. The 3D Umbrella Craft allows you to experience the joy of making something beautiful with your own hands. As you cut, glue, and assemble, you might find yourself lost in the rhythm of the process. This project encourages mindfulness, helping you focus on the here and now, while also boosting your creativity and confidence. It’s a wonderful way to spend time with loved ones, sharing laughter and ideas as you create together.
A Gentle Look at the Process
In this delightful journey, you will start by transforming simple colored paper into a charming umbrella. As you trace, cut, and fold, you’ll witness your creation come to life, piece by piece. The satisfying sound of scissors gliding through paper and the gentle squish of glue will accompany your crafting adventure. You can expect to feel a sense of accomplishment as you see your beautiful umbrella take shape, ready to spread some joy!
Materials You’ll Need
- Colored paper (various colors) – This will be the canvas for your umbrella.
- Scissors – Essential for cutting out your umbrella shape.
- Glue stick – To hold everything together.
- Pencil – For tracing your designs.
- Ruler – To ensure your cuts are even and precise.
- String or yarn – To add decorative touches.
- Small beads or buttons (optional) – For extra flair.
- Craft stick or straw (for the umbrella handle) – The sturdy support for your creation.
Step-by-Step Directions
Step 1
Using your ruler and pencil, draw a semicircle on the colored paper. Aim for a diameter of about 8 inches. This will form the top of your umbrella, so choose a color that speaks to you!
Step 2
Carefully cut out the semicircle with scissors. As you cut, feel the excitement build—this is the starting point of your lovely creation!
Step 3
Fold the semicircle in half to create a cone shape. Apply glue along the edges and press them together to secure. You should see your umbrella starting to take form!
Step 4
Next, cut additional strips of colored paper, about 1 inch wide and 8 inches long. These will serve as ribs for your umbrella, providing structure and style.
Step 5
Glue the strips evenly spaced along the inside of the cone, extending from the top to the bottom edge. This will give your umbrella the perfect look and stability.
Step 6
Take your craft stick or straw and glue it to the center bottom of the umbrella to serve as the handle. Feel free to personalize it with paint or markers if you like!
Step 7
For a final touch, thread a piece of string or yarn through small beads or buttons and attach it to the top of the umbrella. This adds a whimsical flair that makes your craft truly unique!
Step 8
Allow the glue to dry completely before displaying your 3D umbrella craft. Take a moment to admire your handiwork—it’s truly a piece of art!
Creative Ways to Use How to Make a 3D Umbrella Craft
Once your umbrella is complete, there are so many ways to enjoy it! You can use it as a cheerful decoration in your child’s bedroom or a sunny centerpiece for a spring gathering. It also makes a thoughtful gift for friends or relatives, especially when customized with their favorite colors. Imagine gifting a loved one a personalized umbrella, brightening their day and bringing smiles all around!
How to Store, Preserve, or Reuse How to Make a 3D Umbrella Craft
When storing your umbrella, keep it in a cool, dry place to preserve its vibrant colors and shape. If you want to reuse it for different seasons, consider changing the colors or adding seasonal themes, like autumn leaves or winter snowflakes. Your creativity knows no bounds!
Creative Variations and Customizations
- Color variations – Use pastel colors for a soft look or bright colors for a fun vibe.
- Theme ideas – Create umbrellas for different holidays, like a spooky Halloween umbrella or a festive Christmas one.
- Seasonal adaptations – Change the colors and decorations based on the season.
- Kid-friendly modifications – Use pre-cut shapes or stickers for younger children to enhance their experience.
- Advanced creative upgrades – Experiment with adding lights or other embellishments for a stunning effect.
Tips for Success
- A common mistake is cutting the semicircle too small; make sure to measure accurately.
- Always supervise children with scissors for safety.
- Gather all your materials before starting to keep the process smooth and enjoyable.
- Have a cleanup plan in place—crafting can get a little messy!
- Don’t hesitate to get creative and let your personality shine through your design!
FAQs About How to Make a 3D Umbrella Craft
Can beginners make this?
Absolutely! This project is beginner-friendly and great for all ages.
Can children participate?
Yes! With adult supervision, children can enjoy crafting their own umbrellas.
How long does it last?
With proper care, your umbrella can last for many seasons as a delightful decoration.
Can I customize it?
Of course! Feel free to play with colors, sizes, and decorations to make it uniquely yours.
A Final Creative Note
Thank you for joining me on this crafting adventure! The joy of creating something with your own hands is truly magical. Remember, every project is an opportunity to express yourself and connect with those around you. So gather your materials, embrace your creativity, and let your imagination soar. For more delicious recipes, check out No Bake Strawberry Shortcake Cheesecake Rolls or Pecan Pie Cheesecake Trifle Recipe for treats you will love! And don’t forget to follow our Pinterest for more DIY inspiration!
Garlic Butter Chicken Bites with Creamy Parmesan Pasta
Ingredients
Equipment
Method
- Step 1: Cook pasta in a large pot of salted water until al dente. Reserve 1/2 cup of pasta water. Drain and set aside.
- Step 2: In a skillet, heat olive oil over medium-high. Season chicken with paprika, Italian seasoning, salt, and pepper. Sear for 3-4 minutes per side until golden and cooked through. Remove and set aside.
- Step 3: In the same skillet, melt butter and add minced garlic. Saute for 1 minute. Return chicken to the pan and toss in garlic butter.