Easy Homemade Peanut Butter Balls Recipe

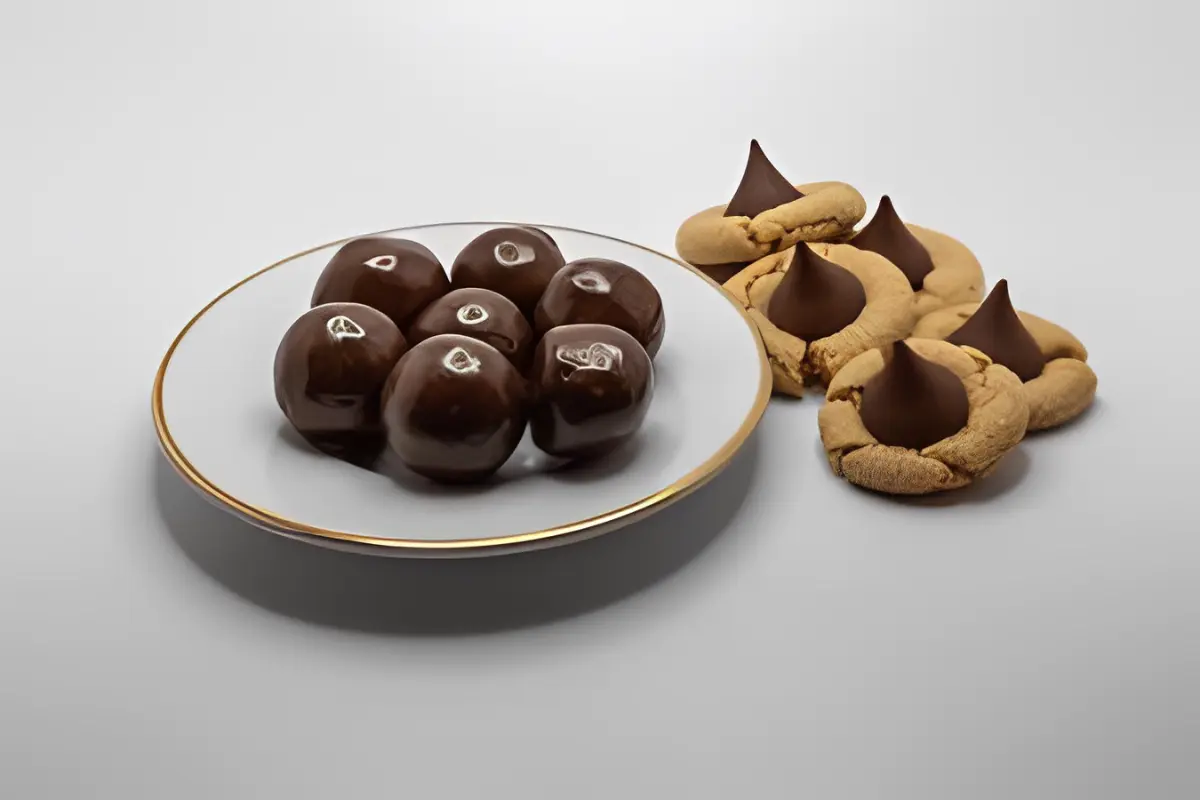
Diving into the delightful world of homemade treats, there’s one little gem that truly stands out for its sheer simplicity and utter deliciousness: peanut butter balls. These tiny spheres of joy have won over the hearts of dessert aficionados everywhere, blending the creamy richness of peanut butter with the indulgent sweetness of chocolate. Whether you’re a dab hand in the kitchen or just starting your culinary journey, this guide is set to walk you through crafting the most scrumptious peanut butter balls you’ve ever had the pleasure of tasting. From gathering your ingredients to adding those personal touches that make a treat truly yours, we’ve got all bases covered. So, let’s not dilly-dally – it’s time to roll up our sleeves and dive into this sweet adventure together!

A plate of homemade peanut butter balls coated in chocolate

Introduction to Peanut Butter Balls

Ah, peanut butter balls – just whispering the name can make taste buds dance and hearts sing. They’re not merely desserts; they’re tiny orbs of bliss, ready to explode with flavor at the slightest nibble. But what exactly catapults them to such high esteem? Well, for starters, it’s their simplicity. With a mere handful of ingredients and zero baking required, anyone can whip up a batch of these delightful treats. Plus, they’re incredibly versatile. Whether you’re hankering for a straightforward sweet or aiming to dazzle with flavors that hint at gourmet finesse, peanut butter balls are your blank canvas, eagerly awaiting your creative stroke.

Before we plunge into the how-to, let’s chat about what you’ll need. At their heart, peanut butter balls ask for just a few basic components: creamy (or crunchy, if you’re in the mood for a bit of texture) peanut butter, powdered sugar for that sweet kick, butter for a touch of richness, a dash of vanilla for depth of flavor, and, of course, chocolate for that irresistible coating. As for the toolkit, you’re likely equipped already: mixing bowls, a baking sheet, parchment paper, and a microwave or double boiler for melting that chocolate to perfection.

Now, you might be pondering, “Is it really that straightforward?” Absolutely! The charm of peanut butter balls lies in their uncomplicated nature. However, as with any culinary endeavor, there are a few tricks of the trade to ensure yours turn out just right, which we’ll delve into as we go along. So, whether you’re a peanut butter devotee or a chocolate aficionado, gear up for a delicious journey that’s sure to end in sweet, sweet victory. Let’s get this ball rolling!

Ingredients for making peanut butter balls on a kitchen counter

What You’ll Need

Embarking on the journey to create the perfect peanut butter balls begins with gathering your ingredients and ensuring your kitchen is equipped with the necessary tools. Fear not, for this venture requires nothing out of the ordinary. Let’s break down what you’ll need to bring these delightful treats to life.

Essential Ingredients for Peanut Butter Balls

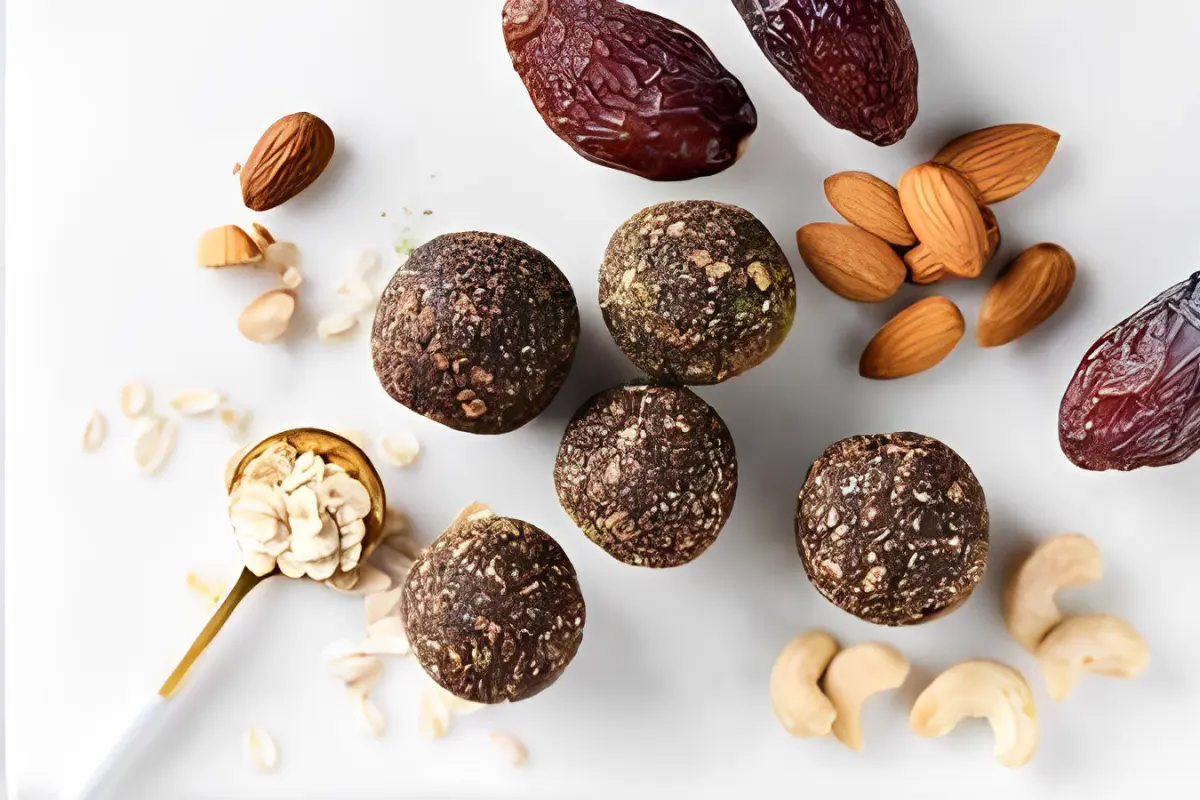
  • Peanut Butter: The undeniable star of the show. Opt for creamy peanut butter to achieve that smooth, melt-in-your-mouth texture. However, if you’re a fan of a little extra crunch, feel free to use the crunchy variety. Just a heads-up, though: steer clear of natural peanut butter for this recipe, as its oil separation and consistency can throw a wrench in your candy-making works.
  • Powdered Sugar: This sweetens the deal and acts as the glue holding our treats together. It’s the powdered sugar that gives peanut butter balls their signature texture.
  • Butter: A little butter goes a long way in enriching the flavor. Unsalted butter is preferred, as it lets you control the overall saltiness of your treats. Ensure it’s at room temperature to blend smoothly with the peanut butter.
  • Vanilla Extract: Just a dash adds a depth of flavor, elevating the overall taste profile of your peanut butter balls.
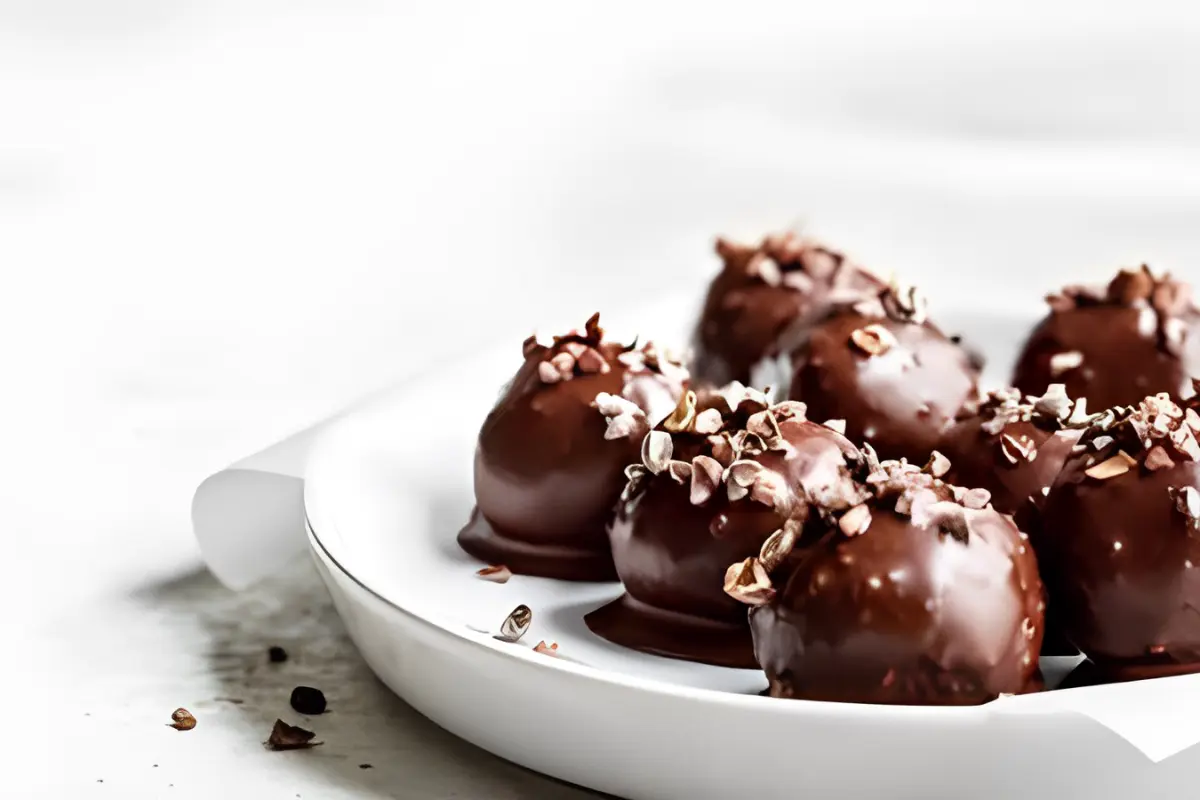
  • Chocolate for Melting: Whether your allegiance lies with dark, milk, or white chocolate, choose a high-quality option for coating. Candy melts or Candiquik are excellent choices for a smooth, glossy finish that’ll make your treats irresistible.

Required Equipment

  • Mixing Bowls: For combining your ingredients. A sturdy set of mixing bowls will be your best ally in this culinary adventure.
  • Baking Sheet: You’ll need this to line up your peanut butter balls before and after they take a dive into the chocolate bath.
  • Parchment Paper: This kitchen staple prevents sticking and ensures your treats can be easily transferred once they’re set, making cleanup a breeze.
  • Microwave or Double Boiler: Essential for melting chocolate to the perfect consistency for dipping. Whether you prefer the microwave’s convenience or the double boiler’s control, either will get the job done.

With your ingredients and equipment at the ready, you’re all set to start crafting those irresistible peanut butter balls. Remember, the quality of your ingredients can significantly impact the final product, so don’t skimp on the good stuff! Now, let’s move on to the exciting part: making peanut butter balls that will have everyone begging for the recipe. Stay tuned, as we’re about to roll into the heart of our culinary adventure.

Dipping peanut butter balls into melted chocolate

The Recipe Step-by-Step

Now that we’ve got our ingredients and equipment ready, it’s time to dive into the heart of our culinary adventure. Making peanut butter balls is a straightforward process, but following these steps will ensure your treats turn out perfectly every time. So, let’s get the ball rolling, shall we?

Preparing the Peanut Butter Mixture

  1. Mix It Up: In a large mixing bowl, cream together the peanut butter and room temperature butter until they’re smooth and well combined. This step lays the foundation for your peanut butter balls, so make sure everything is thoroughly mixed.
  2. Sweeten the Deal: Gradually add the powdered sugar to your peanut butter mixture, stirring continuously. You’re aiming for a consistency that’s thick enough to hold its shape but not so dry it crumbles. Once the powdered sugar is fully incorporated, stir in the vanilla extract to add that extra layer of flavor.

Shaping and Chilling

  1. Shape It: With clean hands, scoop out teaspoon-sized amounts of the mixture and roll them between your palms to form balls. If you find the mixture sticking to your hands, a light dusting of powdered sugar can help.
  2. Chill Out: Arrange the formed balls on a baking sheet lined with parchment paper. Place them in the refrigerator for about 20-30 minutes, or until they’re firm. This chilling step is crucial as it makes the dipping process much smoother and helps the chocolate coating set properly.

Dipping in Chocolate

  1. Melt to Perfection: Melt your chosen chocolate in a microwave-safe bowl or using a double boiler, stirring until it’s silky smooth. If using a microwave, heat in short bursts of 30 seconds, stirring in between, to avoid burning the chocolate.
  2. Dip and Swirl: Using a toothpick or fork, dip each chilled peanut butter ball into the melted chocolate, ensuring it’s evenly coated on all sides. Let the excess chocolate drip off by gently tapping the toothpick or fork against the side of your bowl.
  3. Set and Forget: Place the chocolate-coated balls back onto the parchment paper. If you’re feeling fancy, now’s the time to add any additional decorations like a sprinkle of sea salt or crushed nuts. Allow them to set at room temperature or in the fridge until the chocolate hardens and they’re ready to serve.

Voilà! You’ve just created a batch of heavenly peanut butter balls. Whether you’re making these for a special occasion or just because, they’re sure to be a hit. Remember, the key to perfect peanut butter balls is patience and love. So, take your time, enjoy the process, and get ready to indulge in these bite-sized pieces of bliss.

Variations and Customizations

Now that you’ve mastered the classic peanut butter ball, it’s time to sprinkle a little creativity into the mix. The beauty of this recipe lies in its versatility, allowing you to tweak and twist it to suit your taste buds or dazzle your guests with something uniquely delightful. Let’s explore some creative variations and customizations that can transform your peanut butter balls into a variety of treats.

Creative Variations to Try

  • Chocolate Choices: While milk chocolate is a classic, venturing into dark or white chocolate can offer a new dimension of taste. Each type of chocolate brings its own character to the peanut butter balls, from the rich intensity of dark chocolate to the creamy sweetness of white chocolate.
  • Texture Twists: For those who love a bit of crunch, consider folding crushed nuts, rice crisps, or even crushed cookies into the peanut butter mixture before shaping. These additions not only introduce an interesting texture but also complement the smoothness of the peanut butter filling.
  • Flavor Infusions: Elevate your peanut butter balls with a pinch of sea salt sprinkled over the chocolate before it sets, a dash of cinnamon mixed into the peanut butter filling, or even a hint of chili powder for a surprising kick. Experimenting with different spices and extracts can lead to some exciting flavor profiles.

Decorating Your Peanut Butter Balls

The final step in making your peanut butter balls truly stand out is in the decoration. This is where you can let your creativity shine, tailoring your treats to fit any theme or occasion.

  • Sprinkles and Edible Glitter: Perfect for birthdays, holidays, or any festive occasion, adding colorful sprinkles or a touch of edible glitter can make your peanut butter balls visually stunning and fun.
  • Drizzled Chocolate: For an elegant finish, drizzle a contrasting color of melted chocolate over your set peanut butter balls. This not only adds to the visual appeal but also introduces another layer of chocolatey goodness.
  • Toppings Galore: Before the chocolate sets, press in toppings like crushed nuts, coconut flakes, or mini chocolate chips for added texture and flavor. This is also a great way to indicate the flavor of the peanut butter ball if you’re experimenting with different fillings.

By embracing these variations and customizations, you’re not just making peanut butter balls; you’re crafting edible art that reflects your personal taste and creativity. Whether you stick to the classic recipe or venture into new flavor territories, the joy of making (and eating) these treats remains the same. So go ahead, experiment, and most importantly, have fun with it!

Storage and Shelf Life

After pouring your heart into crafting these delicious peanut butter balls, ensuring they stay fresh and delightful is key. Whether you’re saving them for later enjoyment or prepping in advance for an event, understanding the best storage methods and their shelf life is essential. Let’s dive into how to keep your treats in tip-top shape.

How to Store Peanut Butter Balls

  • Refrigeration: For short-term storage, an airtight container is your best friend. Place your peanut butter balls in the container, separating layers with parchment paper to prevent sticking. They’ll stay fresh and delicious in the refrigerator for up to two weeks. The cool environment helps maintain their firmness and prevents the chocolate from melting, ensuring they’re ready to enjoy at a moment’s notice.
  • Freezing for Long-term Storage: If you’ve made a large batch or want to keep a stash for future cravings, freezing is an excellent option. Arrange the peanut butter balls on a baking sheet lined with parchment paper and freeze them until solid. Once frozen, transfer them to a freezer-safe bag or container. They can last for up to 3 months in the freezer. When you’re ready to indulge, let them thaw in the refrigerator or at room temperature, and they’ll be as good as the day you made them.

Shelf Life

Understanding the shelf life of your peanut butter balls helps in planning and ensures you’re enjoying them at their best. When stored properly in the refrigerator, they remain fresh for up to two weeks, making them a great make-ahead treat for gatherings or a sweet snack. If frozen, they extend their delightfulness up to 3 months, offering a longer window to savor your homemade treats.

By following these storage tips, you’ll ensure your peanut butter balls remain a delectable treat, preserving their texture and flavor until you’re ready to enjoy them. So, whether you’re indulging in a midnight snack or sharing them with friends and family, your peanut butter balls are sure to impress, maintaining that perfect balance of peanut buttery goodness and chocolatey bliss.

FAQs

In the world of peanut butter balls, questions abound, from ingredient swaps to storage queries. Addressing these frequently asked questions can help clear up any uncertainties and ensure your candy-making journey is as smooth as the peanut butter you’re using. Let’s tackle some of the most common inquiries.

Can I use natural peanut butter?

While natural peanut butter can be tempting to use for its wholesome qualities, it’s not the best choice for peanut butter balls. Its oil separation and less stable consistency can affect the texture and firmness of your treats. Stick with conventional peanut butter for the best results, ensuring your peanut butter balls have the perfect texture and hold their shape beautifully.

Can these be made vegan?

Absolutely! To make vegan peanut butter balls, swap the regular butter for a plant-based alternative and ensure your chocolate is dairy-free. Many brands offer delicious vegan chocolate suitable for melting and dipping. With these simple substitutions, you can enjoy peanut butter balls that are just as delicious as the traditional version, catering to everyone’s dietary preferences.

How do I prevent the chocolate from cracking?

To prevent your chocolate coating from cracking, ensure the peanut butter balls aren’t too cold when you dip them. Let them sit at room temperature for a few minutes before dipping. This slight adjustment ensures the temperature difference isn’t too drastic, reducing the likelihood of cracking and achieving a smooth, even chocolate shell.

Why is my mixture too crumbly or too sticky?

The texture of your mixture can be affected by various factors, including the type of peanut butter used and the temperature of your ingredients. If it’s too crumbly, add a bit more peanut butter for moisture. If it’s too sticky, a little more powdered sugar can help achieve the right consistency, making it easier to shape your peanut butter balls.

Can I add other ingredients to the peanut butter mixture?

Certainly! Feel free to get creative by adding ingredients like crushed cookies, rice crisps, or even a dash of cinnamon or chili powder for a unique twist. Just be mindful of the added moisture or dryness these ingredients might bring to the mixture, adjusting your base ingredients accordingly to maintain the desired consistency.

Sweet Reflections: Embracing Every Bite and Beyond

As we wrap up our journey through the delightful world of making peanut butter balls, it’s clear that this simple treat holds a special place in the hearts of many. From its humble beginnings with just a few basic ingredients to the myriad of variations and customizations we’ve explored, peanut butter balls prove that great things indeed come in small packages.

Whether you’re a novice baker looking for an easy yet satisfying project or an experienced cook seeking to add a twist to a classic recipe, peanut butter balls offer something for everyone. The key takeaways from our exploration include the importance of quality ingredients, the joy of customization, and the value of patience and practice in mastering the art of candy making.

Remember, the beauty of peanut butter balls lies not just in their delicious taste but also in the process of making them. It’s an opportunity to experiment, learn, and, most importantly, share the fruits of your labor with loved ones. These treats are more than just a dessert; they’re a token of affection, a handmade gift that carries the warmth of your kitchen and the sweetness of your heart.

So, as you venture forth to create your batches of peanut butter balls, embrace the creativity and joy that comes with it. Don’t be afraid to experiment with flavors, textures, and decorations. And when you encounter a hiccup along the way, remember that each mistake is a stepping stone to perfection.

In the end, peanut butter balls are more than just a treat; they’re a celebration of the simple pleasures in life. So, here’s to many more batches of these delightful bites, to the joy of sharing them, and to the sweet moments they create. Happy baking!

Leave a Comment