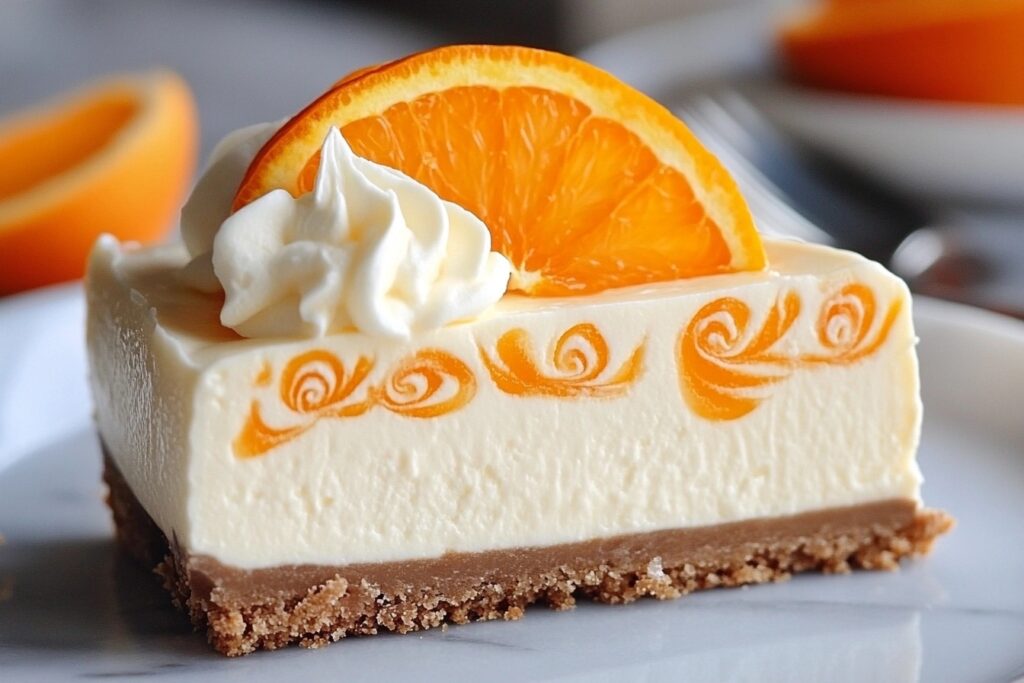
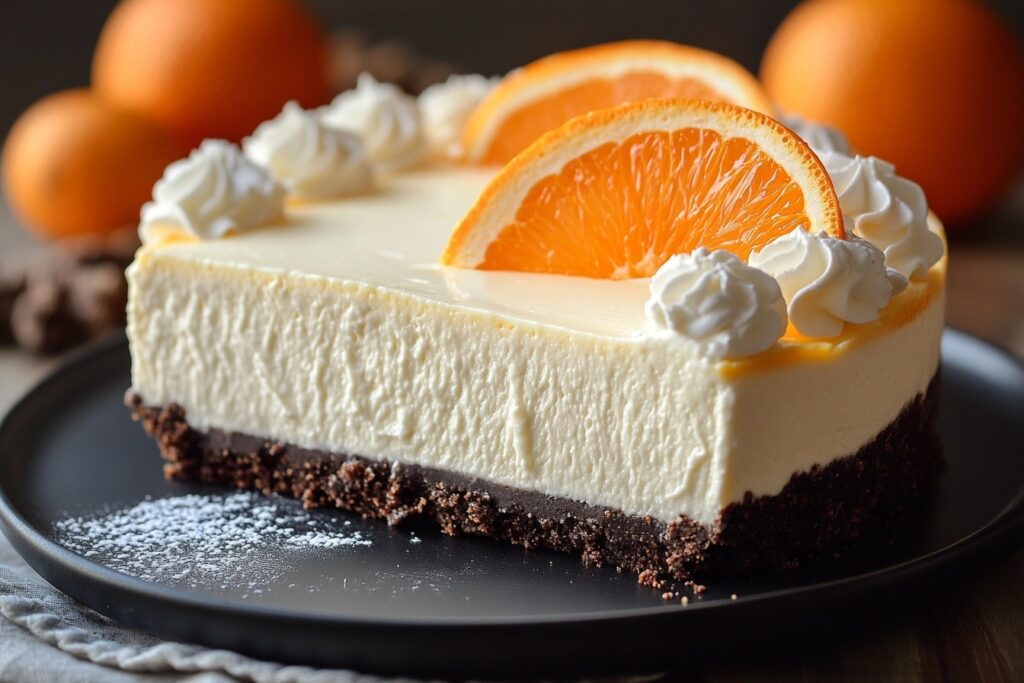
Can you think of anything more refreshing than a no-bake orange creamsicle cheesecake on a hot summer day? This dessert isn’t just a treat; it’s a nostalgia trip back to childhood summers with the classic orange creamsicle. But, hold on, there’s no oven required here! That’s right, no bake cheesecake lovers, we’ve got you covered with an easy, creamy, and tangy dessert that will have everyone asking for seconds. Let’s get into the nitty-gritty of how you can make this summer delight at home, without ever turning on your oven.

Introduction to No-Bake Orange Creamsicle Cheesecake
What is No-Bake Orange Creamsicle Cheesecake?
Imagine the cool, swirling flavors of an orange creamsicle but transformed into a cheesecake. This dessert combines the creamy texture of cheesecake with the zesty, refreshing taste of orange, all without the hassle of baking. Whether you’re looking to impress at a BBQ or just want to enjoy a summer dessert without heating up the kitchen, this recipe is your answer.
The Nostalgia of Creamsicles
Let’s be real, who didn’t love those orange creamsicles on a stick? They were the epitome of summer, weren’t they? This orange cheesecake captures that exact feeling but in a form that’s both easy to make and delicious to eat. By using orange jello, we ensure that every bite is packed with that familiar, sweet citrus flavor that takes you back to simpler times. Plus, the no-bake aspect means less time waiting and more time enjoying your homemade treat.
Ingredients and Preparation
Essential Ingredients for the Cheesecake
To whip up your no-bake orange creamsicle cheesecake, you’ll need a handful of ingredients that are probably already in your pantry or just a quick trip to the store away. Here’s what you’ll gather:
- Crust:
- Graham cracker crumbs
- Butter (melted)
- Sugar (a touch for sweetness)
- Filling:
- Cream cheese (softened, because nobody likes lumps in their cheesecake)
- Orange jello (for that creamsicle magic)
- Sweetened condensed milk
- Orange zest (for an extra burst of citrus)
- Vanilla extract
- Heavy cream (to whip up into that fluffy cloud-like texture)
- Optional Toppings:
- Fresh orange slices, more zest, or even a dollop of whipped cream for garnish
Preparing Your Ingredients
Choosing the right ingredients makes all the difference. For instance, when it comes to orange jello, go for quality since it’s the star of our show, providing both flavor and vibrant color. When zesting your oranges, remember, how to zest citrus fruits can make a world of difference in both flavor and presentation.
Ensure your cream cheese is at room temperature; this isn’t just a suggestion, it’s a rule for smooth, lump-free cheesecake filling. And when it comes to the heavy cream, keep it cold until you’re ready to whip it up into a dreamy, creamy consistency.
Tools You’ll Need
No fancy gadgets here, just the basics:
- A springform pan (for easy removal and a pretty presentation)
- Mixing bowls (you’ll need a few)
- An electric mixer (for whipping cream and blending the filling)
- A zester or fine grater (for that orange zest)
- Measuring cups and spoons
Making the Crust
Graham Cracker Base
Here’s where the magic begins, with the foundation of our orange cheesecake – the crust. Take your graham cracker crumbs, mix them with a bit of sugar for that sweet touch, and then bind it all together with melted butter. This mixture should look like wet sand, ready to be pressed into your springform pan.
The trick is to press it down firmly to ensure it sets well. Use the bottom of a glass or your clean hands to pack it down, getting every crumb into a firm, even layer. This step is crucial because a strong base will support our creamy filling without crumbling.
Setting the Crust
Once you’ve got your crust in place, it’s time to chill. Literally. Pop that pan into the fridge or freezer for about 15-20 minutes. This chill time will help everything set, making it ready to hold the no bake cheesecake filling.
Crafting the Filling
Cream Cheese and Orange Jello
Now for the star of the show – the filling. Start by beating your softened cream cheese until it’s smooth, no lumps in sight. Add in the sweetened condensed milk, which will give your no-bake cheesecake its signature creamy texture. Once you’ve got a smooth mixture, it’s time to introduce the orange jello.
But here’s the catch, the jello must be cooled slightly after dissolving it in hot water; you don’t want it to set completely, but you also don’t want it to melt the cream cheese. Blend it into your cream cheese mixture until you see that lovely, vibrant orange color start to take over. This step not only adds flavor but also a bit of firmness, thanks to the jello’s setting properties.
Whipped Cream Integration
Now, let’s talk about whipped cream. Whip your heavy cream until it forms stiff peaks. This part is like watching magic happen in your kitchen; from liquid to fluffy clouds of cream. Fold this into your orange-cream cheese mixture gently. The key here is to maintain the airiness of the whipped cream, so you don’t end up with a dense cheesecake.
Layering Techniques
You’ve got two options here for an artistic touch. You can either pour all the filling over the crust for a uniform look or create layers. For layers, pour half the filling, then add a bit of plain whipped cream or more orange zest, then the rest of the filling. Or, if you’re feeling adventurous, swirl the layers for a marbled effect.
Remember, this isn’t just about taste; it’s about making your orange creamsicle cheesecake a feast for the eyes too. Whether you go for simplicity or swirl, make sure to smooth the top for that professional finish. Now, back into the fridge it goes, to set and become the summer dessert everyone will rave about.
Chilling and Serving

The Importance of Chilling
Patience might not be your strong suit, but for this no-bake orange creamsicle cheesecake, it’s essential. You need to let it chill in the refrigerator for at least 4 hours, but overnight is even better. This chilling time allows the orange jello to set the filling properly, giving you that perfect sliceable texture without being too firm or too soft.
Remember, good things come to those who wait, and in this case, it’s a cheesecake that’s as cool and refreshing as a summer breeze.
Presentation Tips
Once your cheesecake has set, it’s time for the grand reveal. Carefully remove it from the springform pan, and if you’re feeling fancy, run a knife under hot water to get clean, smooth cuts.
For that wow factor, garnish with fresh orange slices, a sprinkle of zest, or even a few curls of chocolate if you’re feeling indulgent. If you’ve kept some whipped cream aside, a small dollop can add both flavor and visual appeal. The idea here is to make your orange cheesecake not just a dessert but a piece of art on the plate.
Variations and Customizations
Flavor Twists
While orange creamsicle is a classic, don’t be afraid to shake things up a bit. If you fancy other citrus, try lemon or lime jello for a different zesty kick. Or, if you’re in the mood for something less traditional, raspberry or strawberry jello could turn your no bake cheesecake into a fruity delight.
Each twist not only changes the flavor but can also match different seasons or occasions. Imagine a lime cheesecake for a tropical-themed party or a raspberry one for a romantic dinner.
Textural Enhancements
For those who love a bit of crunch with their creamy, consider adding finely chopped nuts like almonds or pecans to the crust or even layering some in between the filling. Or, if you’re a cookie monster, mix in some crushed vanilla wafers or shortbread for an extra layer of texture.
These small changes can transform your orange cheesecake into something uniquely yours, offering a delightful contrast to the smooth, velvety filling. Remember, dessert is all about pleasure, so why not play around and see what magic you can create?
FAQs
Can I use another type of cookie for the crust?
Absolutely, you can get creative with your crust! If graham crackers aren’t your thing, try using crushed Oreos, gingersnaps, or even digestive biscuits. Each will give your no-bake cheesecake a different flavor profile and texture. Just keep the ratio of crumbs to butter the same to ensure it holds together well.
How long will this cheesecake keep in the fridge?
Your orange creamsicle cheesecake can chill in the fridge for up to 5 days if stored in an airtight container. But let’s be honest, it’s so delicious that it’s unlikely to last that long!
Can I make this cheesecake ahead of time for an event?
Yes, this dessert is perfect for making ahead. In fact, it benefits from the extra time to set, so you can prepare it a day or two before your event. Just remember to add any fresh garnishes like fruit slices right before serving for the best presentation.
What can I do if my cheesecake doesn’t set properly?
If your cheesecake is too soft, it might not have chilled long enough. Pop it back in the fridge for a few more hours. If that doesn’t work, a little extra jello in the mix next time can help. However, if you’re in a pinch, you can firm up the cheesecake by freezing it for about an hour before serving. Just don’t forget to let it thaw slightly for that perfect creamy texture.
Is there a dairy-free version of this recipe?
Yes, you can make a dairy-free version by using plant-based cream cheese and coconut cream instead of heavy cream. For the crust, substitute butter with a vegan alternative like coconut oil. The orange jello can generally stay the same unless you find a vegan jello alternative. Remember, the texture might be slightly different, but the essence of the no bake cheesecake will still be there.
Conclusion
There you have it, folks – a no-bake orange creamsicle cheesecake that’s as easy to make as it is delightful to eat. This dessert brings the nostalgia of summer days with the convenience of no oven required. Whether you’re a seasoned baker or a kitchen novice, this recipe proves that you don’t need to heat up your kitchen to create something truly magical.
So, what are you waiting for? Dive into the joy of no-bake desserts, and let this orange cheesecake be the star of your next gathering or a sweet treat just for you. Remember, the beauty of this recipe lies in its versatility; feel free to tweak it, make it your own, and most importantly, enjoy every creamy, tangy bite. Here’s to many more summer desserts that bring smiles without the sweat!
